


Kindling the Light Within: Crafting Waldorf Lanterns for Martinmas

When I was training in Early Childhood Education, I asked to do a placement in a Waldorf setting. I was drawn to the philosophy, its tender and enchanting way of honouring childhood and the wonder that lives within it. 🌿
After I graduated, I was offered a job there, and it was in that nurturing little corner of the world that I first learned to make these beautiful lanterns.
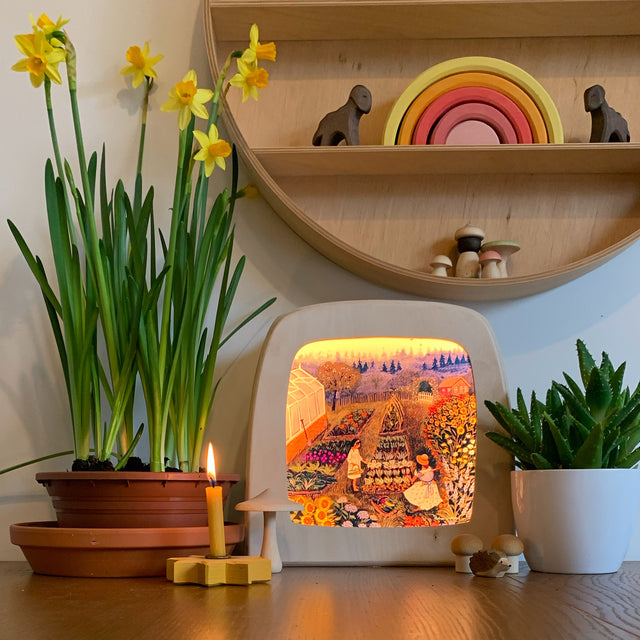
These lanterns are traditionally made at Martinmas, a time to honour the light of compassion that lives within us all, a gentle reminder that even as the days grow darker, our inner light can still shine brightly and bring warmth to others.
To make your own:
Begin with an A4 sheet of cartridge paper and paint it softly with watercolours. When it’s dry, you may brush on a thin layer of olive oil to let the light shine through, though I often skip this step as I think they’re just as lovely without it. 💛
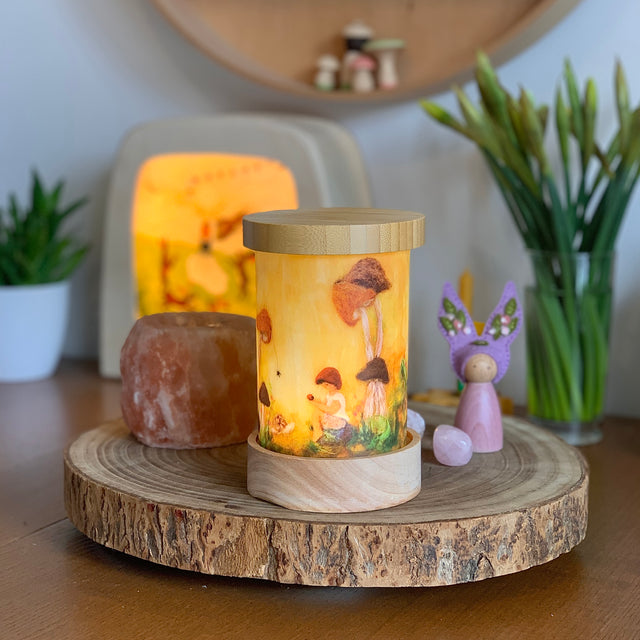
Follow our photo instructions to fold and shape your lantern, then place a little battery-operated tealight inside. Watch as it glows, a small, handmade beacon of kindness and wonder. 🌙
 1. Fold your paper lengthwise down the middle and crease firmly.
 2. Fold the bottom edge up to the centre line to divide the paper into quarters, then crease well.
 3. Fold the top edge down to meet the centre line and crease. Draw lines along all the creases - these will form your folding grid later.

4. Fold the top edge of the paper over about 3 cm and crease firmly.
 5. Fold again down to the first quarter line you drew earlier.
 6. Unfold the second fold you just made. Apply glue along the inside of the first 3 cm fold.
 7. Press the glued edge down securely.

8. Fold the short edge of the paper over by about 2–3 cm. Do not glue it yet - just keep it folded.
 9. Now fold the entire sheet in half widthwise and crease well.
 10. Fold the bottom edge up to the centre line and crease again to create quarters.
 11. Fold the top half down to the centre line and crease. Draw lines along these new quarter folds with a ruler.
 12. Cut along the three lower vertical lines up to the bottom horizontal line - these sections will form the base flaps of your lantern.
 13. Unfold the short edge fold from step 8. Make a small cut along the bottom quarter line up to the crease.
 14. This next part looks tricky but it’s easy! Draw diagonal lines in the two middle sections as shown in the photo above - these will be a guide to help you make the diagonal folds.
 15. Using a ruler, fold along each diagonal line and crease firmly.
 16. After folding all the diagonals in one direction, turn the paper and repeat for the opposite diagonals, creasing each one well.
 17. Apply glue along the small edge fold from step 8.
 18. Press the glued edge down to form the lantern shape.
 19. Fold the bottom flaps together neatly.
 20. Secure the bottom flaps with glue.
 21. Finally, gently press the sections inward, working around the corners to create a concertina effect.

Congratulations! You have made your lantern. Use a battery operated tealight candle to light up your lantern, and if you wish you can attach a string to take go on a lantern walk.
With love
Mama Oak🍃
About the Author
Melody is the founder of Little Acorns to Mighty Oaks, a UK store specialising in Waldorf-inspired sustainable toys that encourage imaginative and open-ended play. With 13 years’ experience in early childhood education and as a mother who home educates her three children, Melody shares practical tips and insights about Waldorf toys, open-ended play, sustainable toys, child-led learning, and sustainable living. Read more about the founder here.


Leave a comment