The Playdough Apothecary: Stirring Up Magic with Honey Sticks Bath Drops
With many years of nurturing and learning in Early Childhood Education, alongside many more years of guiding my own children through the gentle rhythms of home education, I've had the joy of creating countless batches of playdough. Today, I'm delighted to share my favorite recipe with you, along with a few tips and tricks to help you craft the perfect batch for your little ones to enjoy.

Today my littlest Acorn and I made three batches of playdough using Honey Sticks Bath Drops to colour our dough. Making the playdough is such a fun activity to do with your child, with wonderful learning opportunities for maths, science and vocabulary building.
To make a batch you will need:
- 1 cup plain flour
- 1/2 cup table salt (this acts as a perservative, which helps prevent the dough from moulding, meaning it can be kept and used for several months.)
- 1tsp glycerine (this helps prevent the playdough from drying out, and gives it a lovely elasticity and sheen)
- 2 tsps cream of tartar (this helps prevent the oil from seperating and the salt from crystallizing)
- 2 TBSP oil (any vegetable oil works - it doesn't need to be anything fancy or expensive)
- 1 cup boiling water
- Colouring (we are using Honey Sticks Bath Colour Drops, which are natural food grade ingredients).

Step 1: Get your little one to sift the flour - if you don't sift the flour you can end up with small lumps of flour that do not absorb the colour and water, preventing your dough from having a nice smooth texture and colour.

Set 2: Time for your little one to add in the salt and cream of tartar, and give the dry ingredients a good stir!

Step 3: This part is so much fun for little ones, but requires adult supervision. Put your cup of boiling water into a bowl, and then add your Honey Sticks Bath Drop and watch the colour explosion! Once the fizzing subsides, it is time for an adult to add the coloured boiling water to the dry ingredients.

Step 4: Add the glycerine and oil in with the boiling water and give it a good mix - the boiling water will cause the flour to swell as it absorbs the water - at first it will look like a goopy mixture which is hard to image could ever be a dough, but the trick here is to keep stirring for 3-4 minutes. As it cools it will thicken.

Step 5: Time to knead the dough! (Sorry for the inconsistancy in colour, this was our 2nd batch, I forgot to photograph the little one kneading the red batch). Knead, knead, keand the dough for a good couple of minutes.
Tip 1: If the dough feels too sticky, add a bit more oil and knead it in. Keep on adding small amounts of oil until it no longer sticks to your fingers when handling it.

Tip 2: If, once you have added your boiling water and mixed for 3-4 minutes, your dough is still gloopy (rather than dough like consistancy), this can be because your cup of flour was not tampered down and you do not have enough flour in your mixture, or because your boiling water had cooled too much before being added to the dry ingredients..... here is how to fix this problem.... (and what we had to do with our yellow batch of dough).

Pour your gloopy mixuture into a saucepan and stir consistantly over a medium heat until it forms a dough like consistancy and starts to form a ball. At this stage remove from the heat, scoop out of the pan and once it has cooled enough to touch, knead.

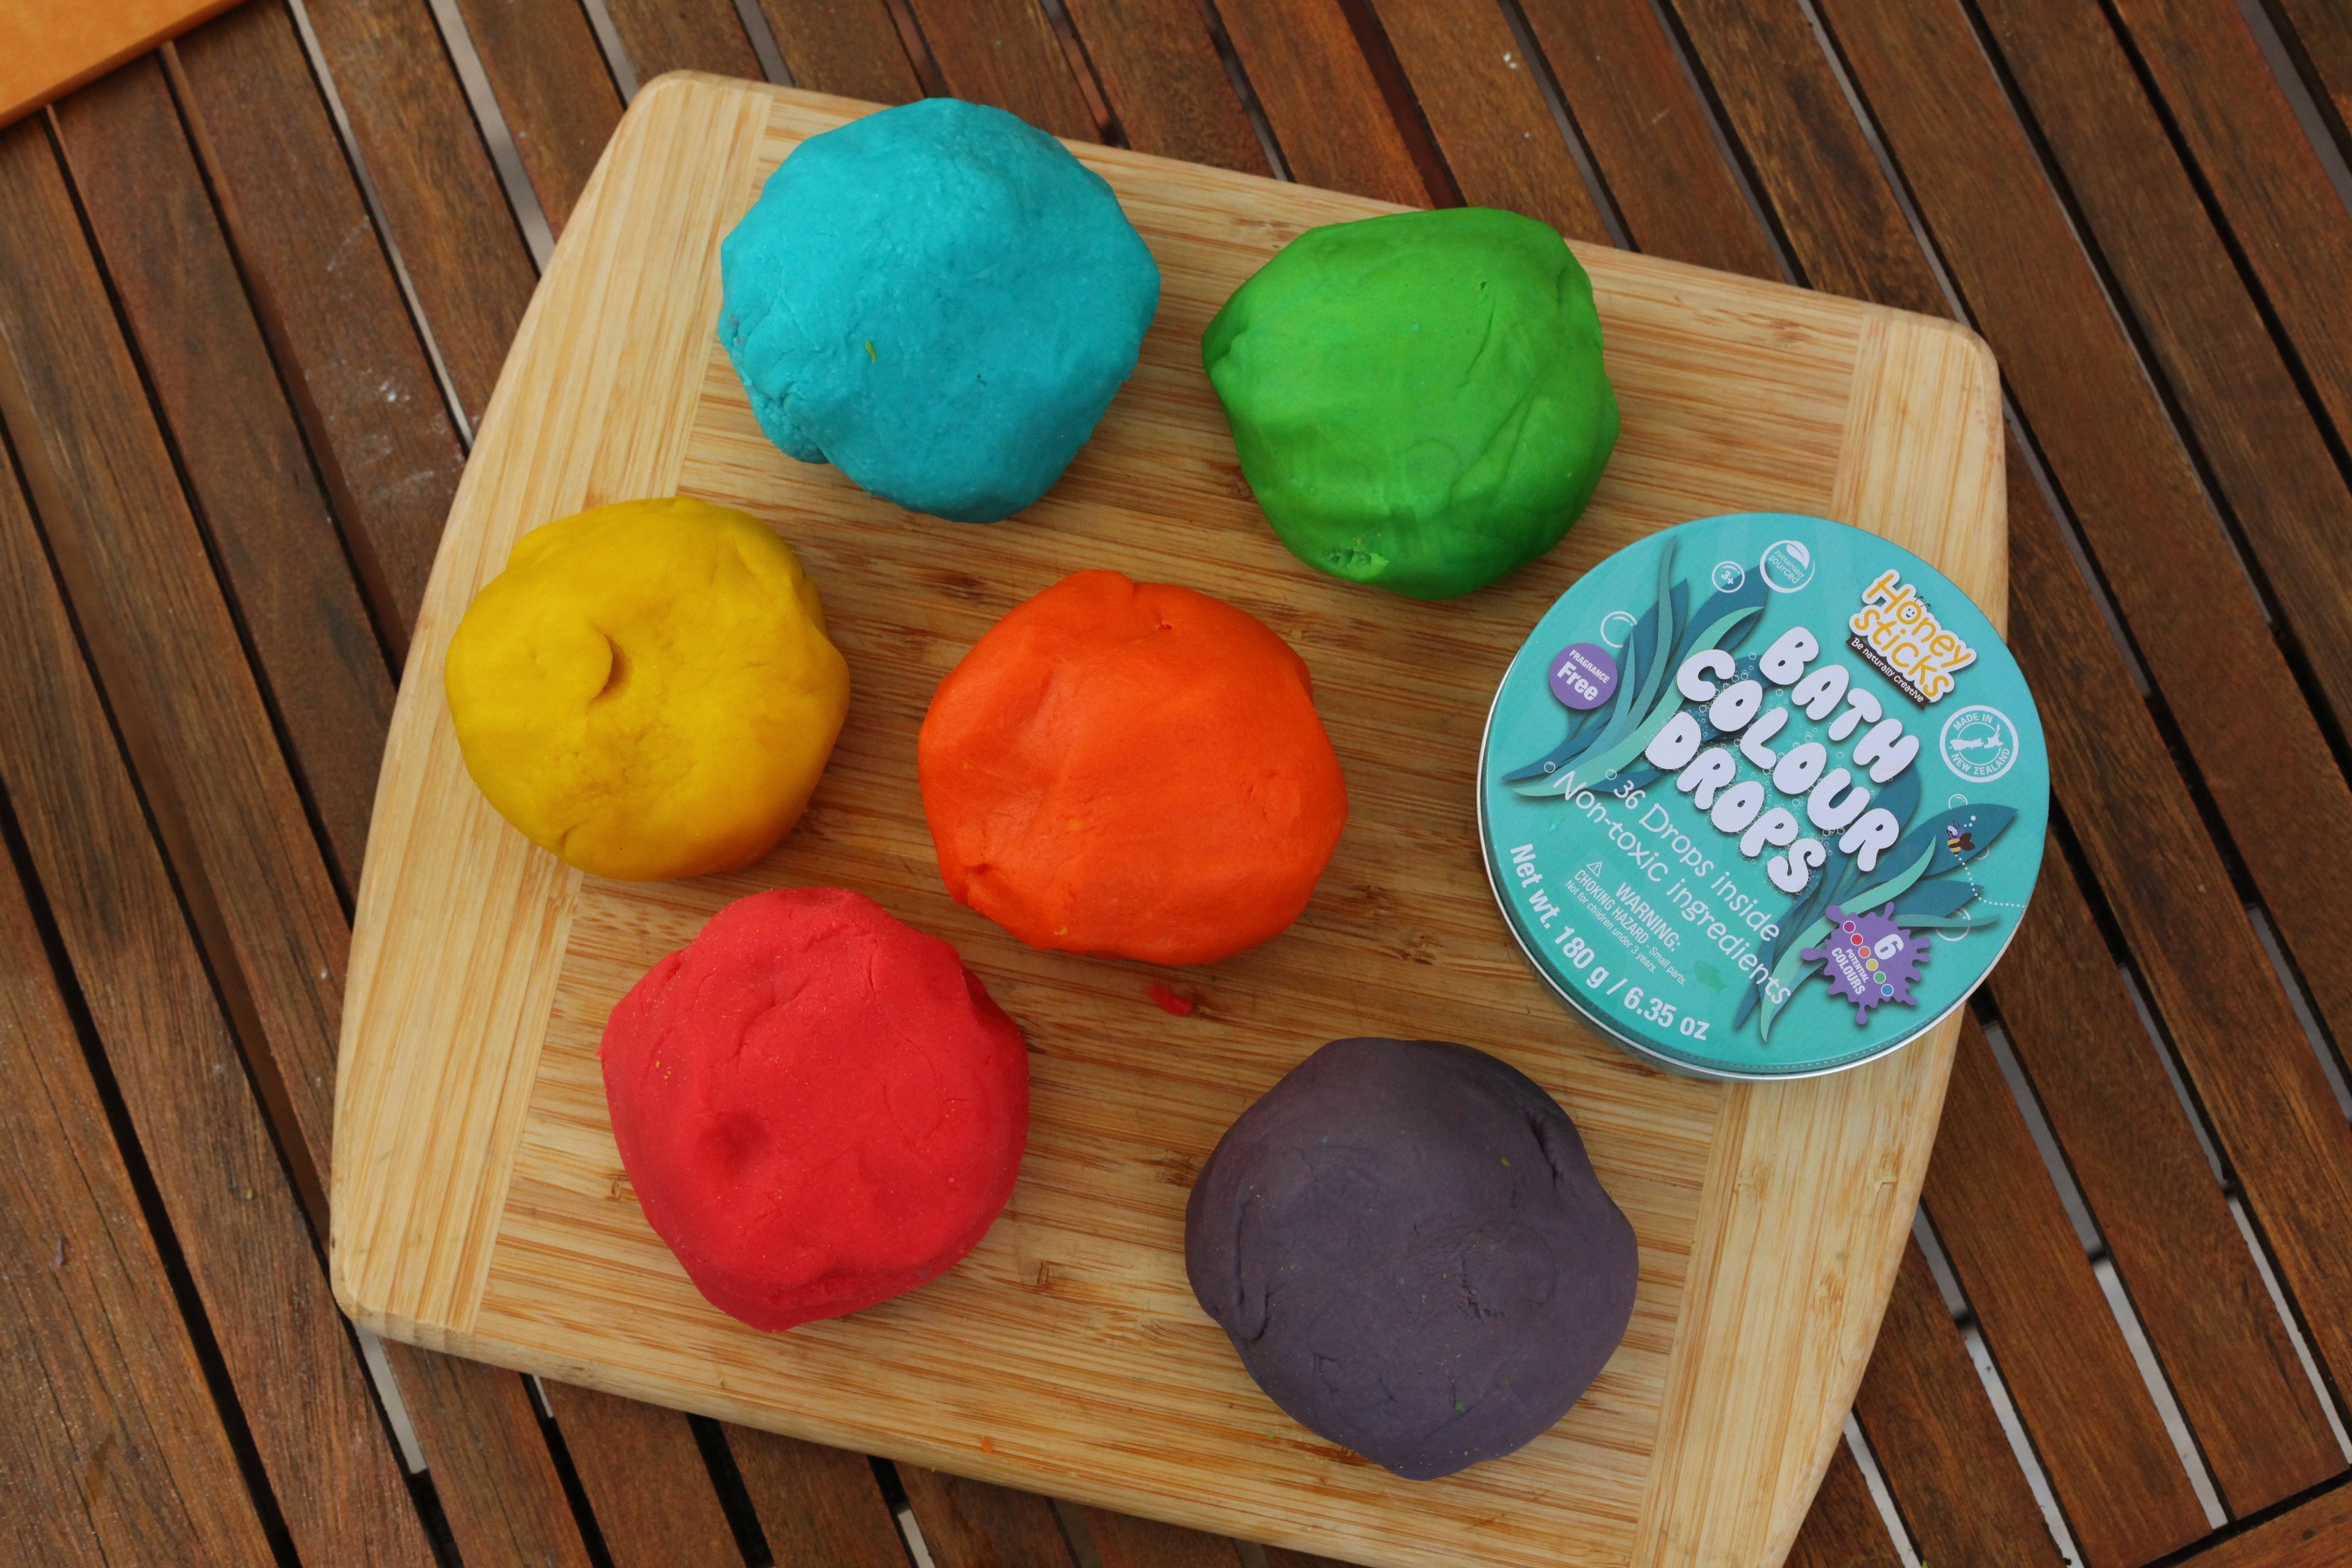
Repeat this process, making 3 batches of playdough using one of each of the Honey Stick Bath Drops. Once you have a batch in each colour (red, blue and yellow), cut each batch in half. Reserve half of each batch, then cut the remaining halves in half again, giving them to your child to mix and create secondary colours.

This is such a wonderful activity for them to explore colour mixing and learn about primary and secondary colours.

Not only is it a wonderful sensory experience, but squeezing, rolling, and kneading playdough strengthens hand muscles, which are crucial for later writing and other fine motor tasks.

Manipulating play dough also enhances dexterity by developing the hands and fingers' ability to perform precise movements.

Once your little one has combined all the primary colours, you will have six colours of dough.... Now it is time to let your little one unleash their creativity!

Today I gave the little one googly eyes, coloured ice lolly sticks and beads, and he spent a wonderful afternoon creating these imaginative creatures.
There are so many different ways that playdough can be used by varying the materials you provide - some of our favourte materials are cookie cutters, toy ice cream cones, silicone muffin cases, shells, alphabet letters and numbers, scissors, coloured pasta, fake flowers and toy animals.
Playdough Storage:

Keep you playdough in an airtight container (from experience I can say that stainless steel is not suitable - the high level of salt can corrode the stainless steel over time). I like to use these glass pyrex containers which have airtight plastic lids, but plastic containers are equally suitable.

I try to make sure the colours are not touching each other when the playdough is being stored, as I have found that the colour will leach into its neighbour over time if different colours are making contact.
Make sure your little one has clean hands before they begin playing with the dough each time to prevent any bacterial growth.
Following these tips and storage suggestions, your playdough should last for months and many a creatvie playdough play sesson!
With Love,
Mama Oak 🌿




Leave a comment